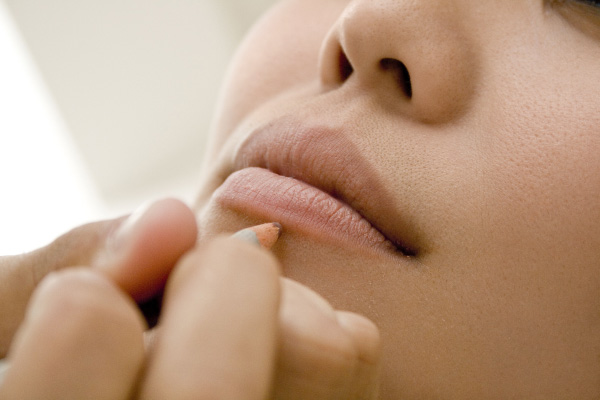
Once you’ve completed Retouching in Photoshop Page 1, you may have started to notice the next problem to tackle. We’ve softened and removed the main blemishes, but the skin tone is still blotchy and uneven. In this next step we’ll solve this problem using the dodge and burn tools.
Look at our image below (you will need flash player installed to view it) and roll your mouse cursor over the image. Highlighted in green are areas that are a little too dark, and highlighted in red are areas that are too light. Roll your cursor over a few times, allowing your eyes time to adjust to each image. Remember that too dark or light is hugely subjective, and the example given is one artist’s very rough 60-second appraisal of the skin tone variations at a macro level. It’s just a guide, but it should be enough to train your eye towards these variations. There are others I’ve missed out, and no doubt a few errors, so don’t follow it exact. It’s ultimately up to you how you interpret your image.
Dodge and Burn
In your toolbar you should see the Dodge/Burn/Sponge tool. The icon may show either ![]() Dodge,
Dodge, ![]() Burn or
Burn or ![]() Sponge, and you can right click the icon to select the one you need from a dropdown menu. The keyboard shortcut is O by default, and you can hold Shift and repeatedly press O to cycle through them. Ignore Sponge for now, we’ll be using Dodge and Burn.
Sponge, and you can right click the icon to select the one you need from a dropdown menu. The keyboard shortcut is O by default, and you can hold Shift and repeatedly press O to cycle through them. Ignore Sponge for now, we’ll be using Dodge and Burn.
The Dodge and Burn tools digitally regulate local exposure, lightening or darkening areas of your image defined by your brush strokes. Put simply, the Dodge tool paints lighter, the Burn tool paints darker. We’ll be using these brushes to lighten or darken those patches we looked at, giving the effect of smooth unblemished skin tone.
Exercise: Choose the Dodge tool, setting the exposure between 1-5% and selecting Range: Midtones. You may wish to alter the Range setting to Shadows to effect the darker tones or Highlights to effect the lighter tones, but in this subject’s skin there are few of either. Carefully dodge the darker skin blemishes and burn the lighter tones to achieve a more even skin tone.

Continue to Retouching in Photoshop 1 – The Basics Part 3
[related_posts]
I can’t seem to get the dodging and burning quite right. I try to lighten the darker patches, and yes they lighten, but they also seem to become discolored and then stand out even worse. What am I doing wrong?
I know that you asked this last year but I’ll still answer incase anyone else has the same question. The darker parts of an image are typically more saturated than the lighter parts and the lighter parts less saturated than the darker parts. When you doge a dark area you are affecting the luminance but not the saturation so the area my become discolored because it is now over saturated. The same but opposite is true for burning a light area to make it darker, the lighter areas are less saturated so when you burn a light area, it becomes grey because it isn’t saturated enough. The sponge tool is supposed to help this but I think the way outlined in DM’s Doge and Burn Tutorial is better. Here is a link to it -> https://www.dmd-digital-retouching.com/blog/dodge-burn-tutorial/