>>Return to Beauty Retouching Portfolio
Please use the arrow slider to view before and after detail. Images may take a moment to load.
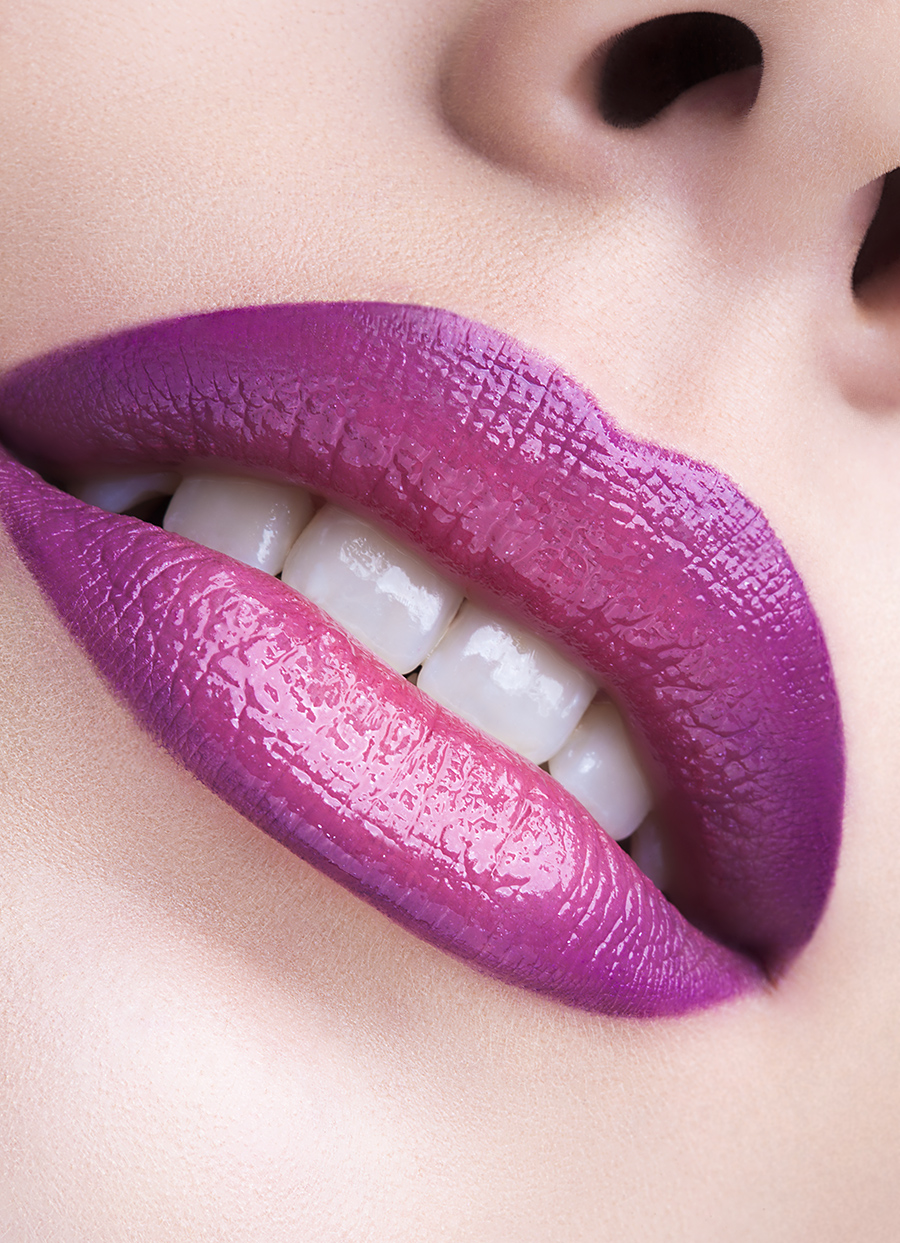
Photography by S. Bourson
Professional Retouching | High End Retoucher Daniel Meadows | Commercial, Beauty & Fashion

Photography by S. Bourson
Roll mouse over for unretouched ‘before’ image.
Photography by Paul Tirado
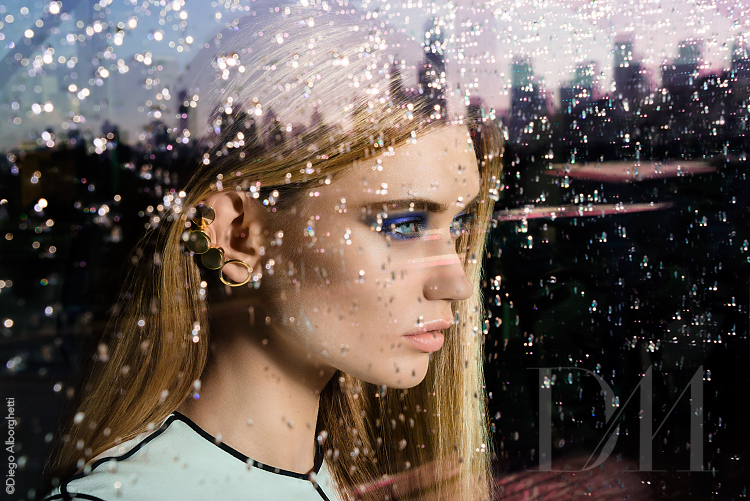
Daniel Meadows is a British freelance retoucher with nine years of experience in digital retouching and has worked with award winning photographers and major fashion and cosmetics brands such as Chanel, L’Oreal Paris, Elle Magazine and Harper’s Bazaar. Daniel uses high end retouching techniques to achieve a subtle perfection without relying on common ‘blurring’ skin retouching methods which destroy pore-detail and clarity; strictly using non-destructive retouching techniques that look perfect at any resolution.
Please feel free to view the retouching portfolio section for examples of retouched images.
Daniel Meadows

Welcome to the new and updated version of my retouching portfolio and blogging site. I hope you’ll forgive the mess as I work to bring the new site into 2011 with a new look and a new mission for quality new content for photographers and new retouchers. My thanks go to Ian Cylkowski for the rebranding and further help with design elements.
It’s been an interesting year since I focused D Meadows Design into a dedicated freelance retouching service and the response from everyone has been extraordinary. I’ve cleared a lot of dead wood from the blog pages and I’m ready to focus on providing more tips and advice for anyone pursuing photo perfection. It’s been a long year with 16-20 hour days not uncommon to establish the freshly rebranded Daniel Meadows – High End Photo Retouching but it’s been worth it, and my thanks go to my clients and friends on this site and the others I frequent and write for. [Read more…] about DM Retouching Site Relaunch
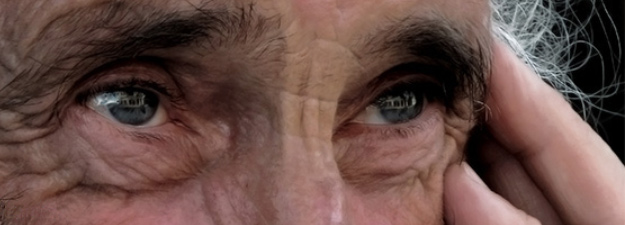
Welcome to my top five list of Photoshop Retouching Mistakes. Aimed at the beginner retoucher (if you’ve been around a while you know all this) I’ve compiled five retouching crimes I see frequently.
I’m not going to go into massive depth with step by step tutorials, as I don’t believe in them. My apologies for quickly glossing over techniques I don’t have the space to go into in depth here, if as a beginner you’ve never used luminosity masking for example, consult Adobe’s help file, then use your imagination to play with your new selections, using various fills and adjustment layers. If any technique is new to you, go straight to that help file and then experiment before looking at any top ten Google tutorials. The single worst way to learn how to retouch is by looking through the millions of tutorials search engines throw up, because they’re simply saturated with ‘quick-fix’ ten step promises of perfection in under ten minutes. The truth is, perfection isn’t that simple, and neither is good retouching. So if you decided to add something to your Photoshop skill set today, make it what you take from this article. [Read more…] about Top 5 Photoshop Retouching Mistakes and How to Avoid Them
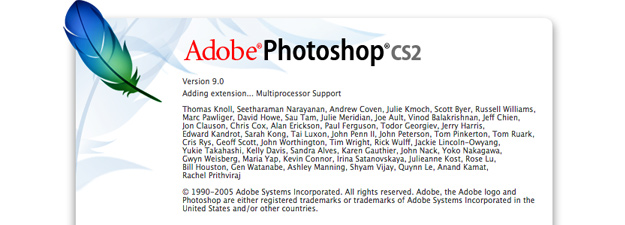
Here’s a look back over 20 years of Adobe Photoshop welcome screens, I’ve now updated the article with Photoshop CS5. Every release of Adobe’s industry standard photo editing software prior to 6.0 is alien to me, but perhaps those horrendous 90’s splash screens will bring back memories for some of you.
Now we have a more even skin tone cleared of major blemishes, we might look to adjustments and masks to complete our image. It strikes me that the lips need to draw the eye more, so we’re going to work on drawing the viewers attention to our intended point of focus.
I’m going to start with a couple of global adjustments, here are the first few changes I made; [Read more…] about Retouching In Photoshop 1 – The Basics Page 3
Once you’ve completed Retouching in Photoshop Page 1, you may have started to notice the next problem to tackle. We’ve softened and removed the main blemishes, but the skin tone is still blotchy and uneven. In this next step we’ll solve this problem using the dodge and burn tools.
Look at our image below (you will need flash player installed to view it) and roll your mouse cursor over the image. Highlighted in green are areas that are a little too dark, and highlighted in red are areas that are too light. Roll your cursor over a few times, allowing your eyes time to adjust to each image. Remember that too dark or light is hugely subjective, and the example given is one artist’s very rough 60-second appraisal of the skin tone variations at a macro level. It’s just a guide, but it should be enough to train your eye towards these variations. There are others I’ve missed out, and no doubt a few errors, so don’t follow it exact. It’s ultimately up to you how you interpret your image. [Read more…] about Retouching In Photoshop 1 – The Basics Page 2
Necessary cookies are absolutely essential for the website to function properly. This category only includes cookies that ensures basic functionalities and security features of the website. These cookies do not store any personal information.
Any cookies that may not be particularly necessary for the website to function and is used specifically to collect user personal data via analytics, ads, other embedded contents are termed as non-necessary cookies. It is mandatory to procure user consent prior to running these cookies on your website.