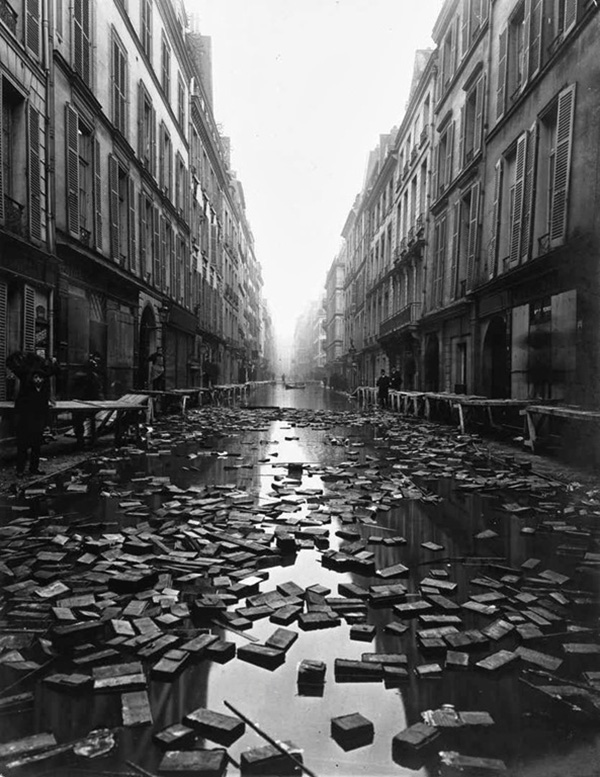
Anyone who follows me on Twitter knows I love history, so when I find one of those extraordinary moments in time captured beautifully in photography I get excited about it. The shot above shows library books carried through the streets of Paris after the flood of the River Seine in 1910. More shots follow; [Read more…] about Paris Flood in 1910, Photographs

Google+ Retouching Community
If you’re on Google+ and reading this blog, you’ll probably want to become a member of the Google+ Retouching Community!
There didn’t seem to be a great deal around in terms of commercial retouching news, articles and discussion, so for photographers and retouchers of all levels we now now have a home on Google+. Click here to view and join us.
Danny
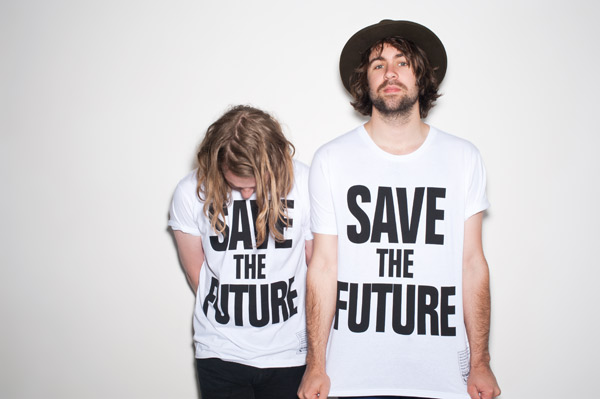
“Save the Future” Climate Week T-Shirt 2012 for EJF
Hi all, last weekend I was asked to contribute to some of the shots for designer Katharine Hamnett’s Climate Week t-shirt for 2012, so I wanted to let you know a little bit about what’s happening with that. I’ve had little chance to blog much recently but it seemed a worthy cause to get behind and use my keyboard for something more useful than the shortcut keys I bore it with daily. [Read more…] about “Save the Future” Climate Week T-Shirt 2012 for EJF
Dodge and Burn Tips
In the Dodge and Burn tutorial I covered the basics of D&B, using the curves and soft light methods, pixel level and carving. In this article I’ll cover a few extra tips that’ll help your eye make the right decisions and to avoid any unwanted colour shifts.
Enhancing the Problem (temporarily)
There are a couple of good ways to temporarily alter the image to show up the problem areas and help you dodge and burn what you otherwise might miss. The first is simple, add a Hue/Saturation adjustment layer and pull the saturation slider to -100. After all, we’re dealing solely with luminosity, colour can be an unwanted distraction. [Read more…] about Dodge and Burn Tips
Dodge and Burn Tutorial
Dodging and Burning is a method of lightening and darkening specific areas of an image, regulating local exposure to even out texture and contours. It digitally acheives (and with much more control) an old darkroom technique of witholding light (dodging) to keep an area light, or increasing the exposure to darken (burn) areas.
You’ll find the dodge and burn tools on the toolbar to the left of the default Photoshop setup, or by pressing ‘O‘.
The problem with using the standard tools is that they work destructively, they won’t operate on a blank layer so you’ll be making permanent changes to your working layer. This would be fine if none of us ever made an error or changed our minds, but to give us the option, we have a couple of methods available. [Read more…] about Dodge and Burn Tutorial
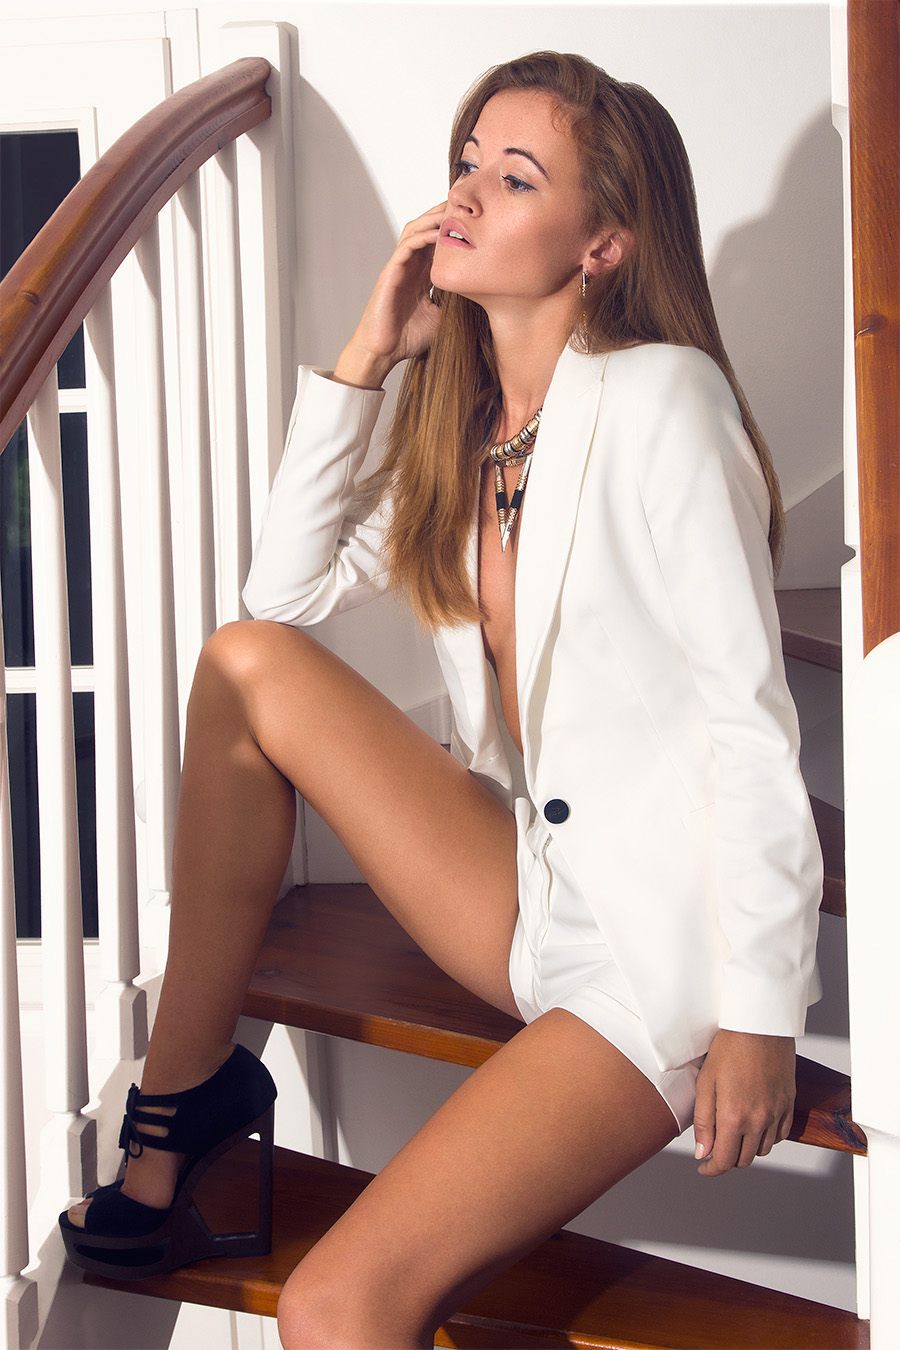
Fashion Editorial Retouch, Photography by Oceane Moins
>>Return to Fashion Retouching Portfolio
Please use the arrow slider to view before and after detail. Images may take a moment to load.
Photography by Oceane Moins
>>Return to Fashion Retouching Portfolio
S Moshkov Photography
>>Return to Beauty Retouching Portfolio
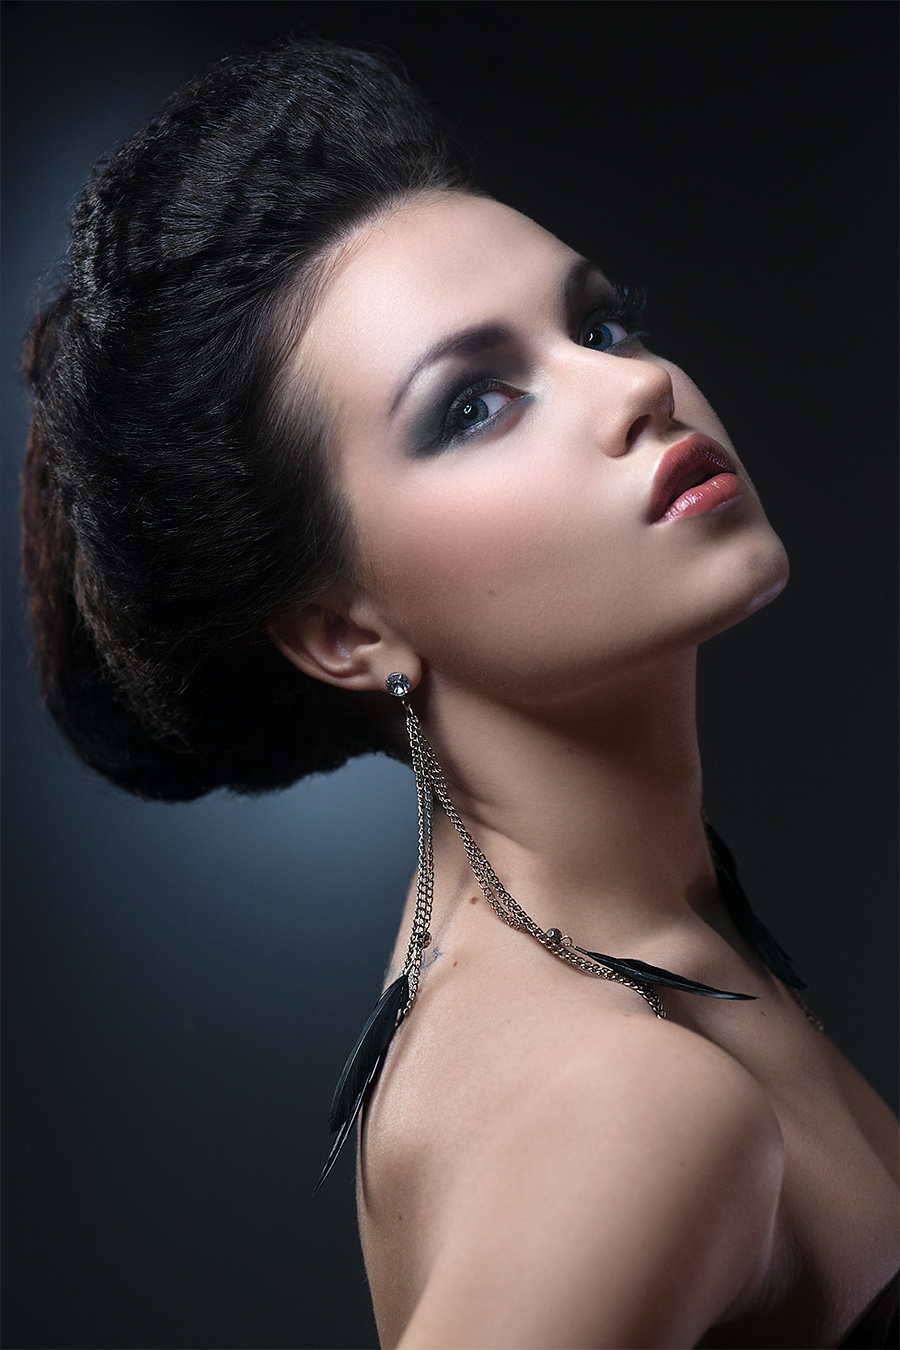
Please use the arrow slider to view before and after detail. Images may take a moment to load.
Photography by S. Moshkov
>>Return to Beauty Retouching Portfolio
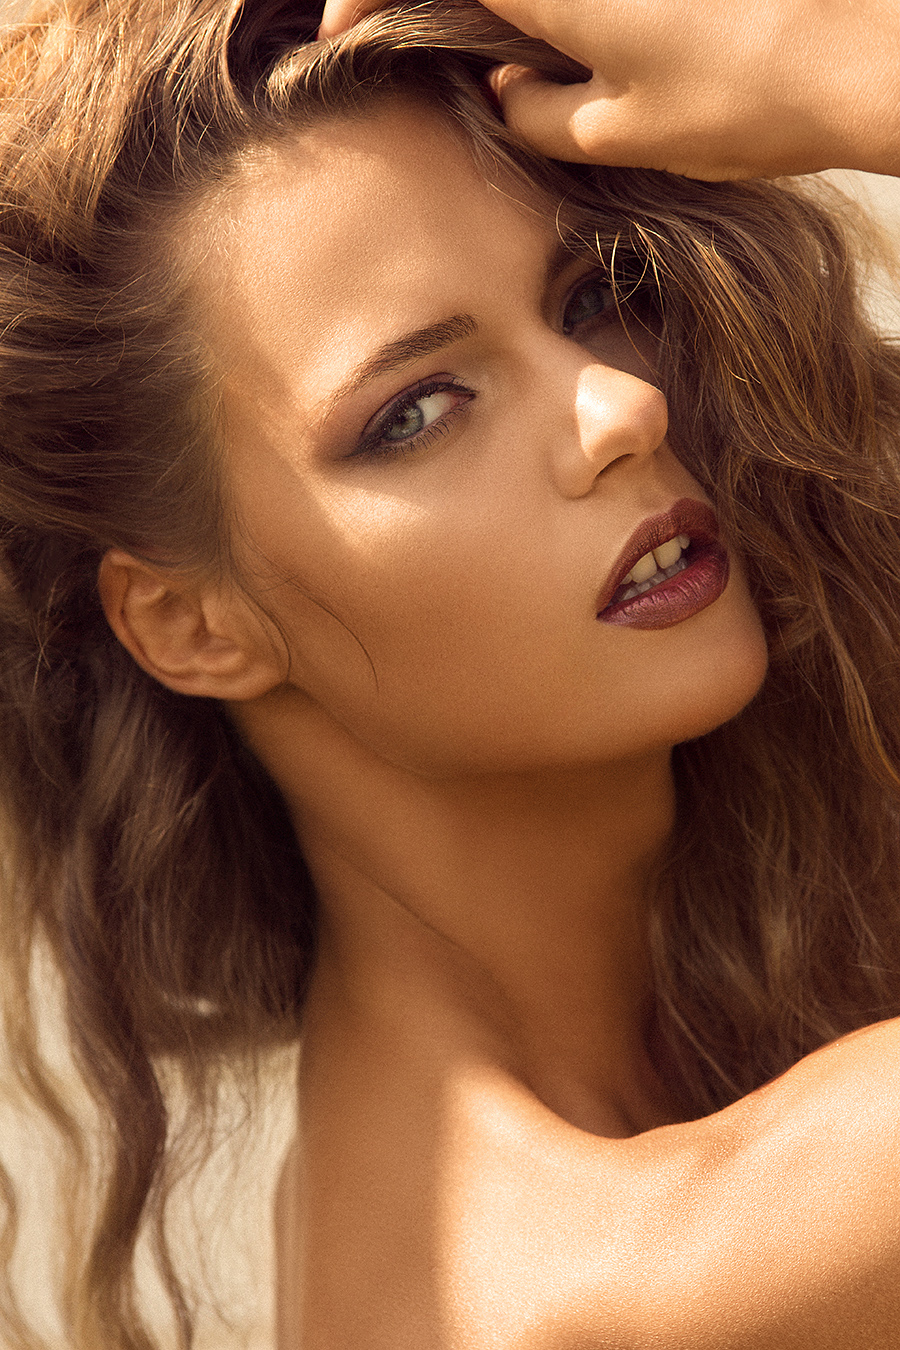
Commercial Beauty Retouch
>>Return to Beauty Retouching Portfolio
Please use the arrow slider to view before and after detail. Images may take a moment to load.
Full-resolution detail;
Photography by S. Moshkov